Handling broadband changes and issues
CONNECTING YOUR CCTV RECORDER TO THE INTERNET
The CCTV DVR/NVR is not Wi-Fi enabled. It is connected via two primary methods:

A Cat5e cable, seen below, connects your DVR/NVR to your router. One end of the cable goes into your DVR/NVR, and the other into your router.

Ensure that both ends are securely connected and the router is powered on. Your recorder should now be able to access the internet directly.

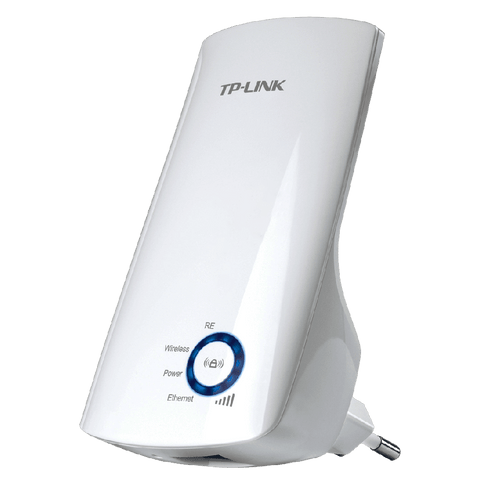
If running an Ethernet cable directly to your router is not possible, you can use a Wi-Fi extender. The Wi-Fi extender connects to your DVR/NVR using a Cat5e cable.

To connect your Wi-Fi extender to your router via WPS, follow these steps:
Initially, place the Wi-Fi extender close to your router. This will make the WPS pairing process easier.
Locate the WPS button on your router and press it. The WPS LED on the router should start blinking, indicating that it is in WPS pairing mode.
Within 2 minutes of pressing the WPS button on your router, press the WPS button on your Wi-Fi extender. The extender will automatically connect to the router.
Once connected, you can move the Wi-Fi extender to a location that is closer to your DVR/NVR but still within the range of the router's signal.
Use a Cat5e cable to connect the DVR/NVR to the Ethernet port on the Wi-Fi extender. Your DVR/NVR should now have an internet connection via the extender.
After connecting the DVR/NVR to the internet, follow the steps in the video below to complete the setup:
Recorder Default Password: abc12345